How to configure modules
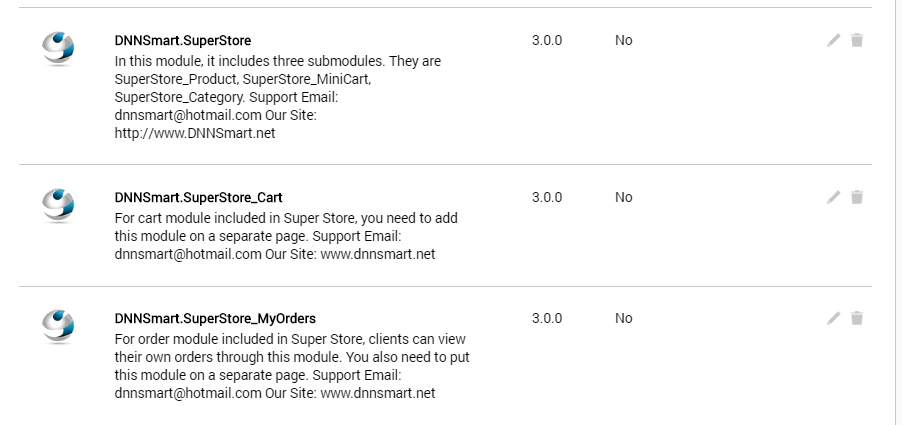
After you finish installing Super Store and Payment Gateway module packages, you will see several modules on Extensions page. See below.

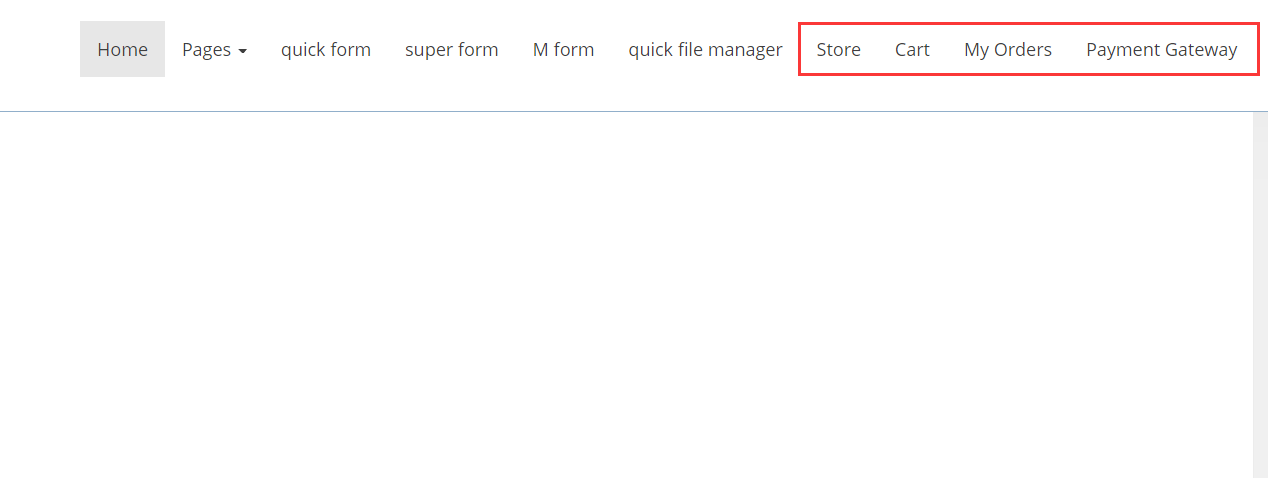
Next, we need to create four separate pages, they are called “Store”, “Cart”, “My Orders” and “Payment Gateway”. See below.
After that, we need to add different modules to different pages and configure them well.
Store Page
On this page, we add the sub module “DNNSmart.Super Store”, please refer to animation below.

As we can see, three sub modules are displaying after we add Super Store module on the page.

DNNSmart.SuperStore_Category module
For “DNNSmart.SuperStore_Category” module, it’s used to display categories of your products and you don’t need to configure it.
DNNSmart.SuperStore_MiniCart module
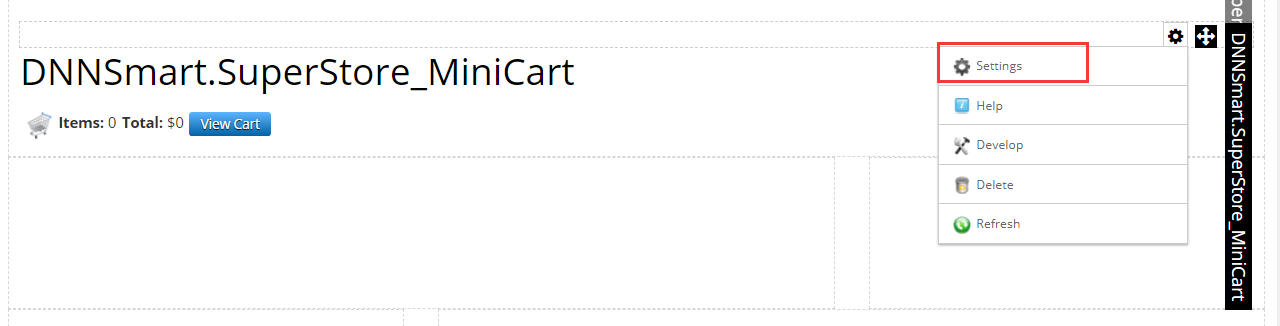
For “DNNSmart.SuperStore_MiniCart”, it’s used to display minicart and you don’t need to configure it. But you can adjust the look and feel of minicart through template.
How to adjust the template?
Please click “Settings” of this module, see below.
Then click “Mini-Cart Settings” tab on the top, you will get following interface.
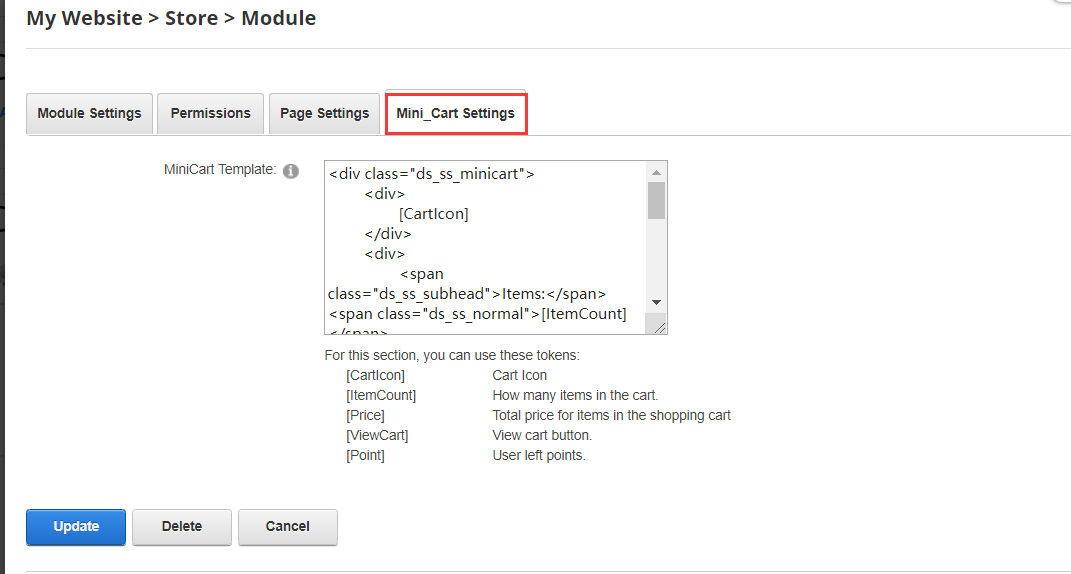
You can use default template or customize it according to your need.
DNNSmart.SuperStore_Product module
In this module, you can add product categories, add product details, view orders, configure coupon code, manage reviews and so on. It can be said that almost all the settings of Super Store module need to be completed in this sub module.
Please refer to the article below, it introduces how to complete all the settings in this sub module.
http://www.dnnsmart.net/UserManual/DNNSmart.SuperStore_Product/Index.html
Cart Page
On this page, please add the sub module “DNNSmart.SuperStore_Cart”. For this mpdule, you don’t need to configure it.
After that, we will see following interface on the page.

After you adding one product in your cart, please click “View Cart” and you will be redirected to following page.
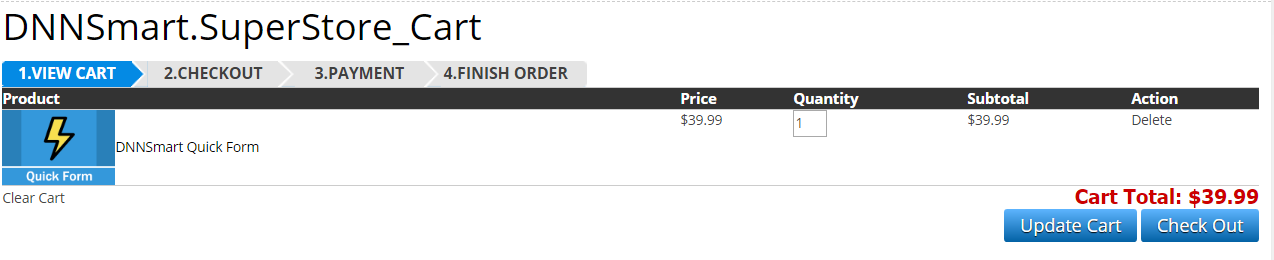
On this page, you can clear cart or change quantity of the product. After you finish updating cart, please click “Check Out” to pay. Refer to example below.
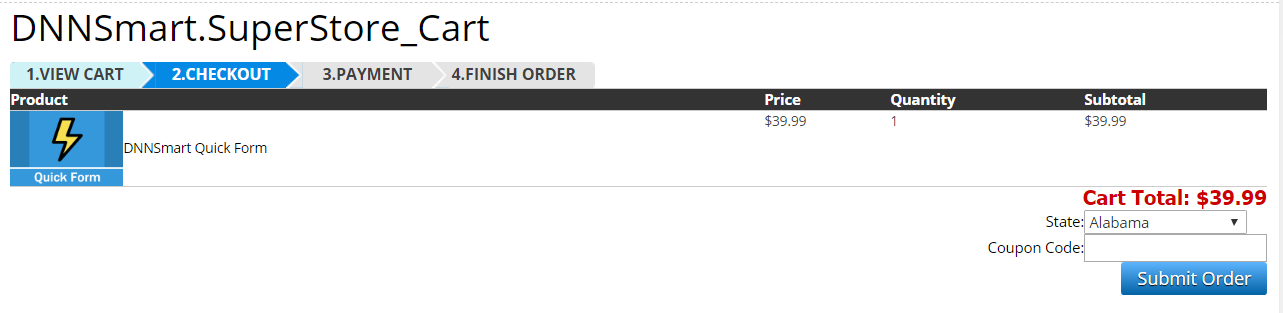
If you have coupon code, please fill in it. Otherwise, please directly click “Submit Order”. Then you will be redirected to following page.
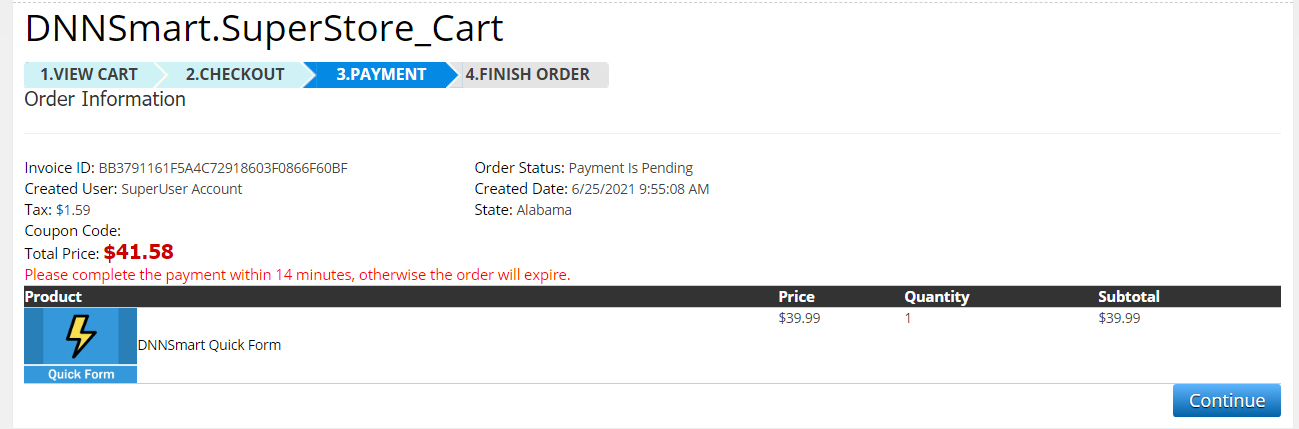
Please click “Continue”, it will be redirected to payment page.
Payment Gateway Page
Please create one page called “Payment Gateway” page and add
“DNNSmart.PaymentGateway” module on this page, see screenshot below.
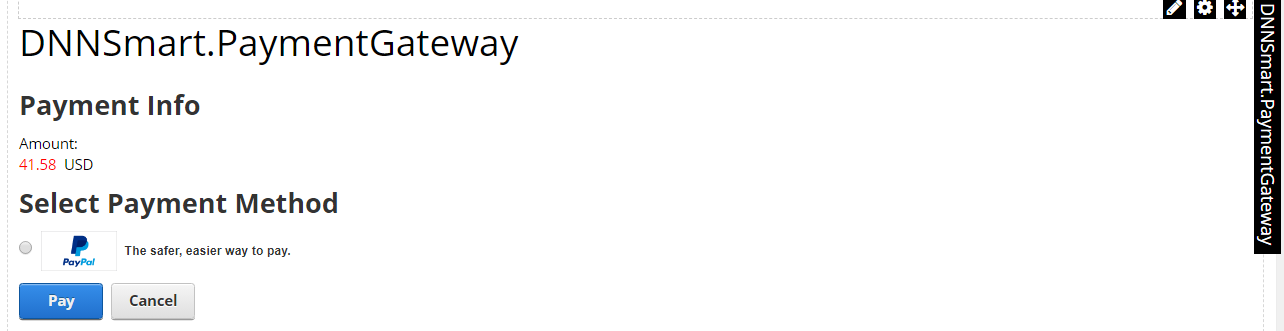
Please enter module back-end and configure.
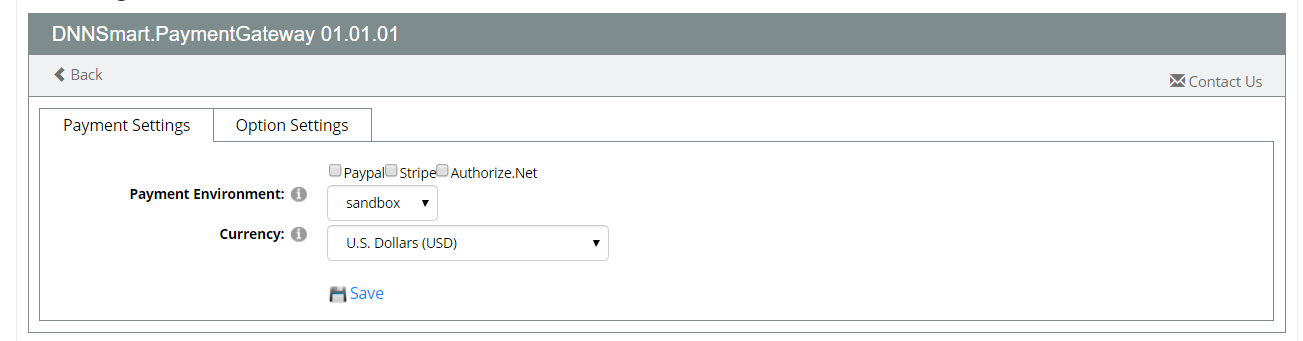
Currently, it supports three kinds of payment gateways. If you want to use which one, please tick that option.
Next, we will explain how to configure these three kinds of payment gateways, so we tick all of them.
Payment Environment: Please select one payment environment, live or sandbox.
Currency: Please choose one kind of currency.
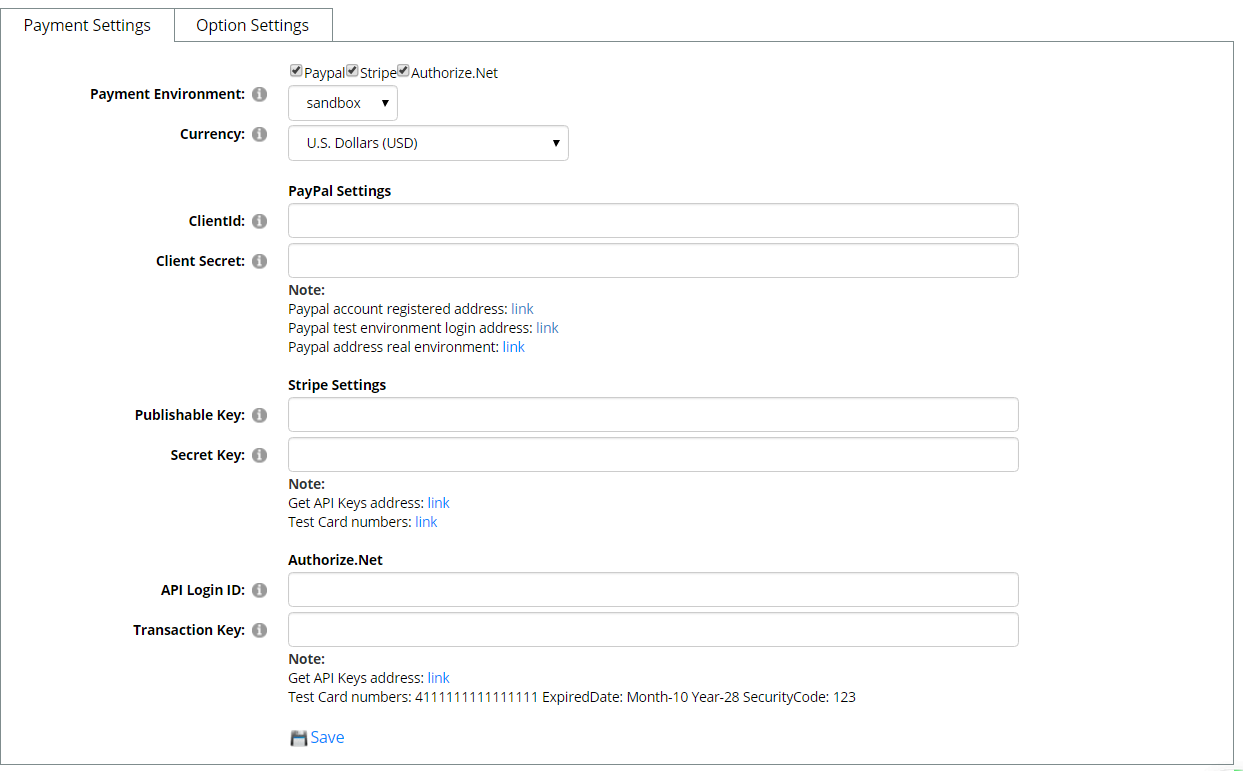
PayPal Settings
Please refer to following article, then you will see how to get ClientId and Client Secret.
http://www.dnnsmart.net/Support/Articles/tabid/222/ContentId/54/language/en-US/How-to-get-ClientId-and-ClientSecret-of-Paypal-.aspx
Stripe Settings
Please refer to following article, then you will see how to get publishable key and secret key.
http://www.dnnsmart.net/Support/Articles/tabid/222/ContentId/51/language/en-US/How-to-get-Publishable-Key-and-Secret-Key-of-Stripe-.aspx
Authorize.net
Please refer to following article, then you will see how to get API Login ID and Transaction Key.
http://www.dnnsmart.net/Support/Articles/tabid/222/ContentId/52/language/en-US/How-to-get-the-API-key-of-authorize--Net-.aspx
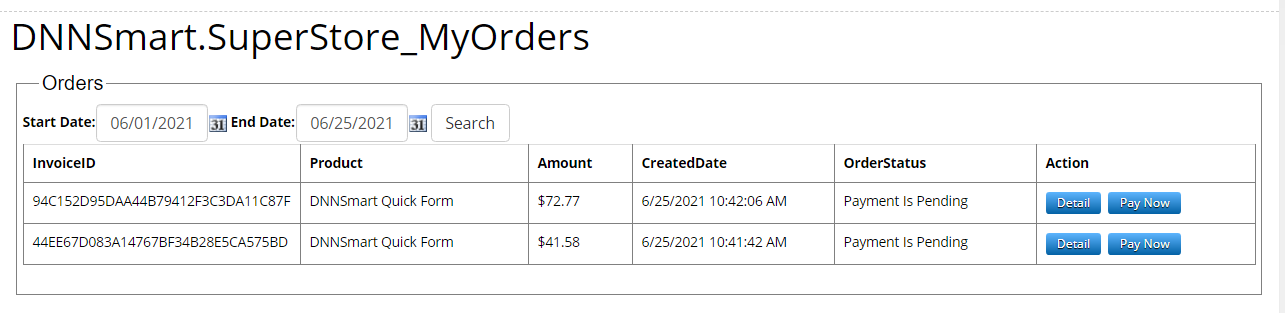
My Orders Page
On this page, the buyer can view all of his/her orders.
Please create one page called “My Orders” and add module “DNNSmart.SuperStore_MyOrders” on this page, then you will get following interface.
For this module, it doesn’t need to do any configuration.

Please see an example below. After purchased products, then I can view all my orders on this interface.
Now, we finished creating our own store by using DNNSmart Super Store module, it’s very simple.